When setting up RemoteApp or Remote Desktop Services on Windows Server 2012 R2, you may suddenly lose the ability to connect to the server using Remote Desktop.
Instead of the normal login screen, you may receive this error:
The remote session was disconnected because there are no Remote Desktop License Servers available to provide a license. Please contact the server administrator.
This can be confusing, especially if Remote Desktop worked before the Remote Desktop Services role was installed.
A Windows 11 computer may suddenly start with a blue screen that says:
BitLocker Recovery Enter the recovery key for this drive. BitLocker needs your recovery key to unlock your drive.
This message can be scary, especially when the computer was working normally before. In most cases, it does not mean the hard drive is bad. It usually means Windows detected a security or boot change and BitLocker is asking you to prove that you are allowed to access the encrypted drive.
What Is BitLocker?
BitLocker is Microsoft’s drive encryption feature. It protects the data on your computer if the device is lost, stolen, or someone tries to remove the drive and read it from another machine.
When BitLocker is enabled, Windows normally unlocks the drive automatically by using the computer’s TPM security chip. The user does not notice anything during a normal startup.
But if Windows believes something important changed, it may stop the boot process and ask for the 48-digit BitLocker recovery key.
This guide explains how to create a new Windows Server 2025 virtual machine in Microsoft Hyper-V from scratch. It is written for a practical small-business server setup where the physical server acts as the Hyper-V host and the virtual machine will later be used for SQL Server, IIS, testing, or another Windows Server role.
The example below creates a Generation 2 VM named SQL2025-PROD, attaches a Windows Server 2025 ISO file, creates a 150 GB virtual hard drive, connects the VM to an external Hyper-V switch, and starts the Windows installation.
Before You Start
You need a physical Windows Server 2025 machine with the Hyper-V role installed or ready to install. You also need a Windows Server 2025 ISO file saved somewhere on the host server. In this example, the ISO is located here:
C:\VMs\Windows2025.iso
For a test machine, placing VM files on the C: drive is acceptable. For production, it is usually better to keep the host operating system on C: and place virtual machine files on a larger or faster drive, such as D:.
An authentication error has occurred.
The function requested is not supported.
How to fix An authentication error has occurred. The function requested is not supported.
When you are trying to connect to an older Windows Server, especially Windows Server 2012 or 2012 R2, from a newer Windows 10 or Windows 11 computer, you may run into the following Remote Desktop error:
An authentication error has occurred. The function requested is not supported. Remote computer: <computer name or IP> This could be due to CredSSP encryption oracle remediation. For more information, see https://go.microsoft.com/fwlink/?linkid=866660
I understand how frustrating this can be, especially when the device, VM, or application was working before and suddenly Remote Desktop refuses to connect.
This issue is usually related to CredSSP, which is the Credential Security Support Provider protocol used by Remote Desktop during authentication. Microsoft released updates for CVE-2018-0886 to address a CredSSP vulnerability, and systems with different patch levels or different CredSSP policy settings may fail to negotiate the RDP session correctly. Microsoft documents the CredSSP update behavior and the Encryption Oracle Remediation policy values as part of that security change.
Why This Happens
In many environments, newer Windows 10 or Windows 11 devices are fully patched, while older servers such as Windows Server 2012 may not have the same update level or policy configuration.
Physical Drive Connection and Hardware Requirements
Power Down and Remove Drives: Ensure the ReadyNAS NV+ v2 is powered off. Gently remove all four 1 TB drives, labeling their bay order (1–4) to avoid confusion later.
Connect Drives to a Linux Computer: Attach the drives to a PC running Linux. You can connect them via standard SATA ports or use USB-to-SATA docking adapters (make sure 3.5″ disks have adequate power)diskinternals.com. All drives should be connected simultaneously if possible (the RAID array needs at least all but one drive intact).
No Special RAID Controller Needed: You do not need a dedicated RAID card or proprietary hardware. NETGEAR’s X-RAID2 is essentially a software-managed RAID (built on Linux mdadm RAID)forum.r-tt.com. A standard PC that can recognize the drives (through BIOS/OS) is sufficient. Ensure your SATA controller is in AHCI/standard mode (not set to RAID mode that might hide the drives). The “proprietary” aspect of X-RAID2 is mainly the expansion logic in the NAS’s firmware – the actual on-disk format is readable with normal Linux toolsforum.r-tt.com.
Avoid Writing to Drives: Treat the NAS drives as read-only sources for recovery. Do not initialize or format them if prompted by any OS. (Windows, for example, will show them as unformatted – do not agree to any format prompts.) In Linux, do not let any auto-repair or RAID sync run. The goal is to mount and copy data, not to alter the NAS disks. If any drive shows signs of failure (clicking, I/O errors), consider imaging it first (e.g. using ddrescue) to avoid stressing it further.
Why, all of a sudden the need of such a solution? Huge variety of different inventory which is scattered around a warehouse, shelves keep changing, boxes keep moving, items cannot get found. As a result the orders get cancelled. No good.
RFID labels allow for the items to be located without direct line of sight and mostly RFID software has the feature of “Find Item” by the RFID programmed tag.
I chose the path of Zebra hardware to make sure it is mainstream and most popular and supported. Made a research for devices and here’s what you’d need:
RFID compatible scanner. Mostly it would look as a gun with a palm shield like in a medieval sword 🙂
RFID printer to print the RFID labels.
Compatible RFID labels that are relatively small to fit onto different items.
RFID compatible scanner
There are scanners that are all-in-one like Zebra MC3330R that, at the time of writing cost $700+ used on eBay or around $3K new online.
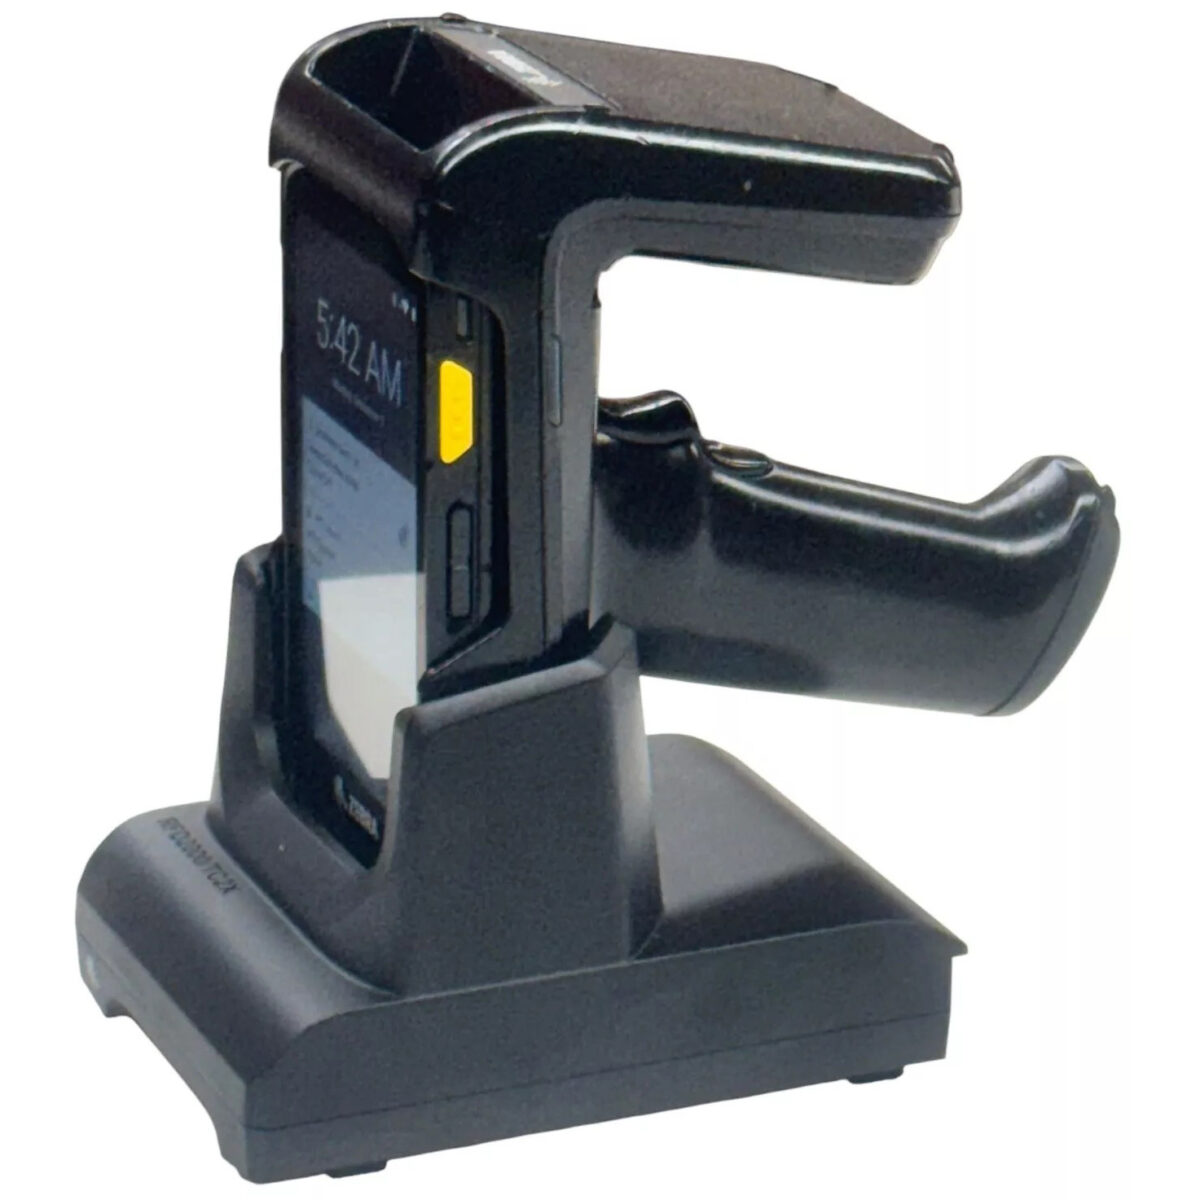
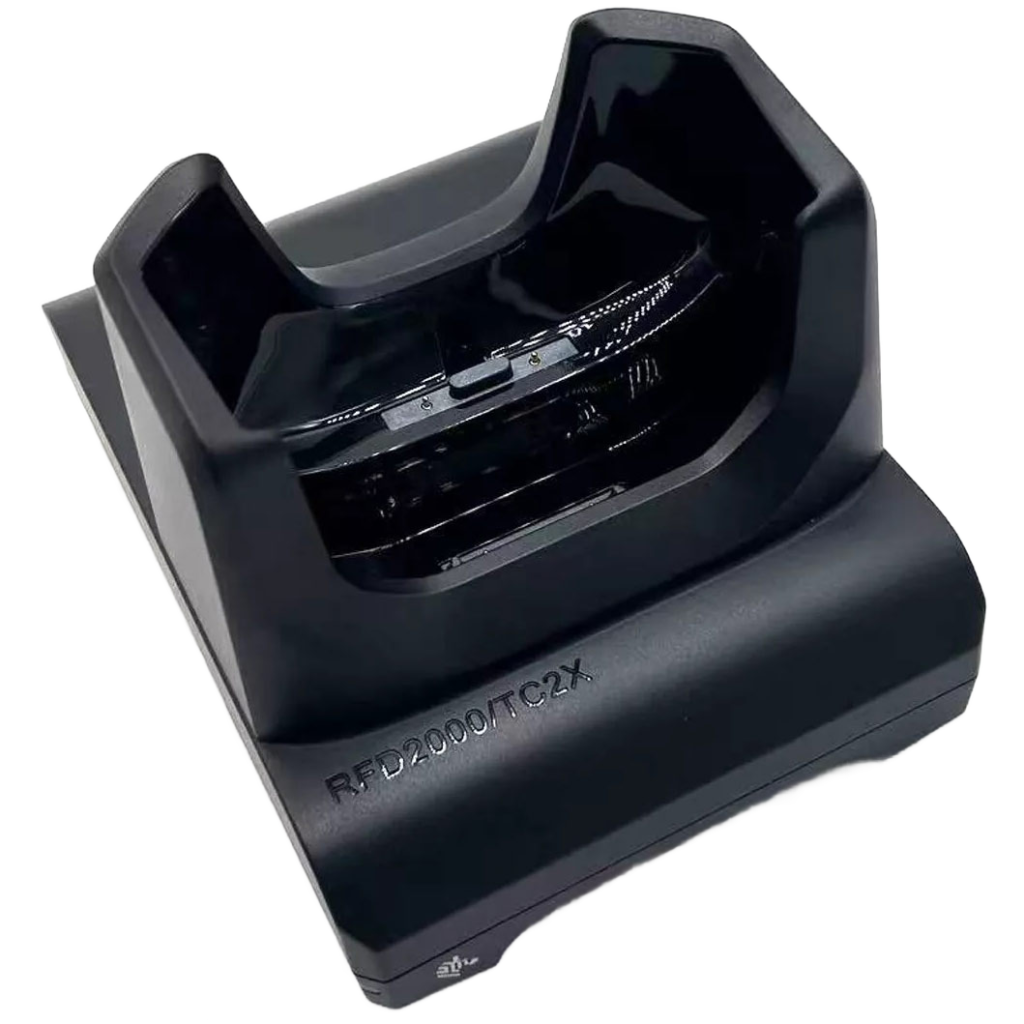
There are also small hand-helds that consist of Mobile computer and a sled/cradle. For example Zebra TC20 or TC25 with a Zebra RFD2000 sled. The mobile computer snaps into the sled and with an application running your can go hunting for the item you need to find. Or you can tag your folders for Document Management or… well the sky is the limit.
Zebra TC20 RFD2000 UHF RFID Sled Charger Cradle
Now let’s talk about limitations. These are the underwater rocks which I am in the middle of navigating. Not every computer is made equal and consider TC20 or TC25 to be a family or devices. They have different capabilities.
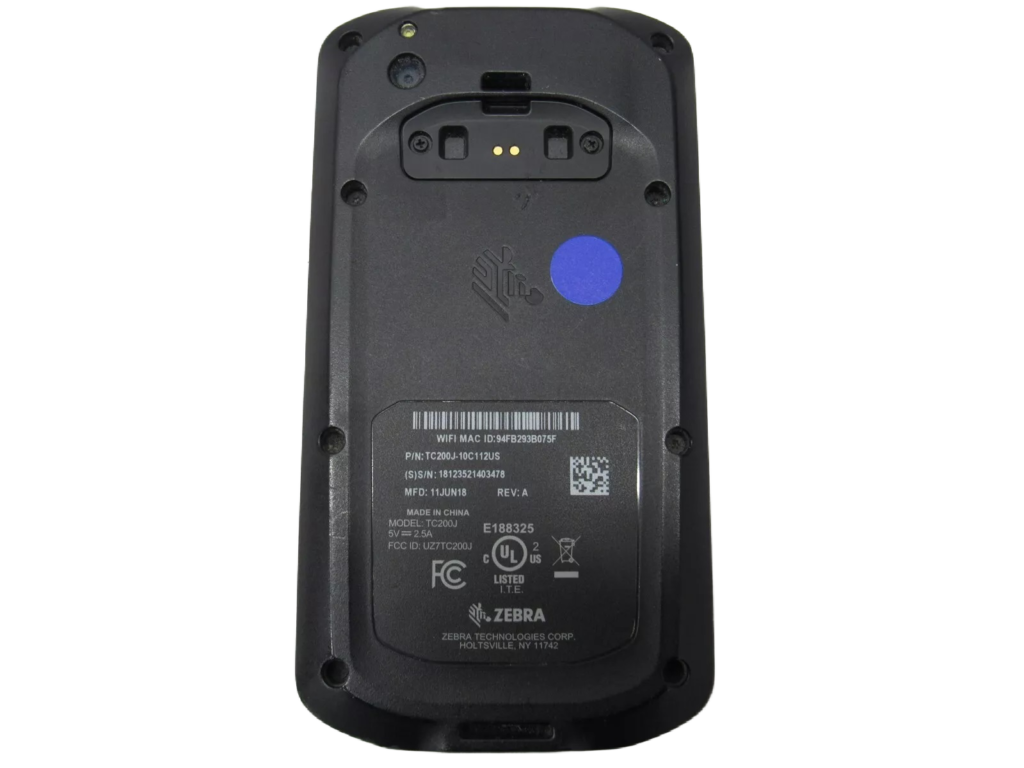
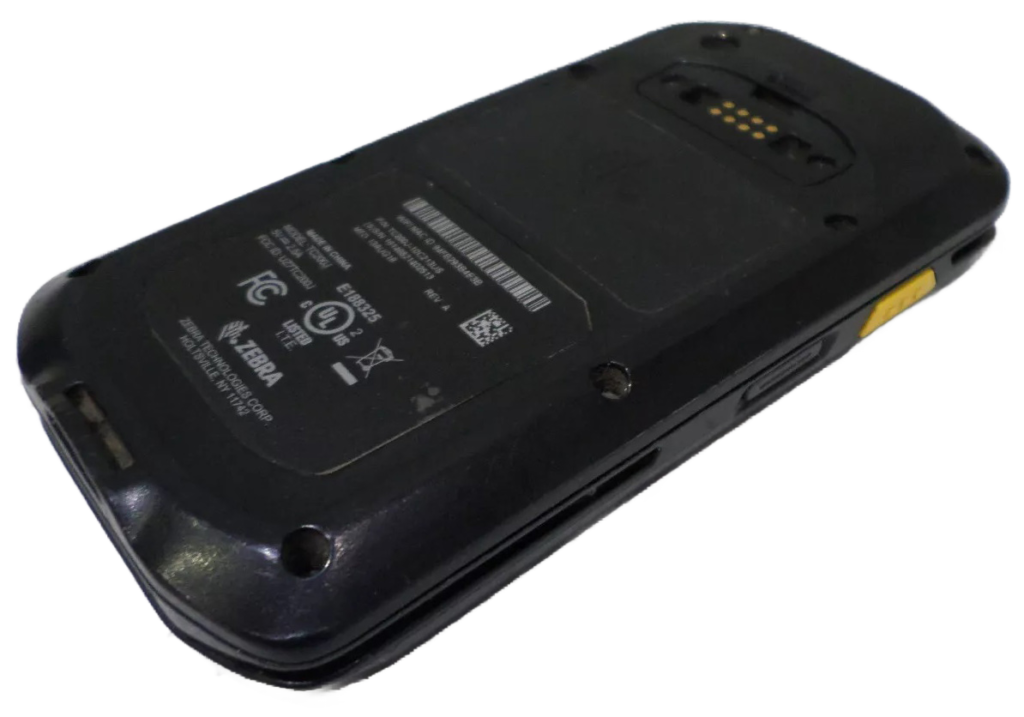
Initially I have purchased TC200J-10C112US which is running Android 8.1, looks great but… turned out to NOT support RFID scanning in any shape or form. And no amount of knowledge or trying to force it work with RFID software produced any results. It just does not have 8 pin connector in the back and the firmware is not intended to work with RFID sled.
Here’s is a back connector of TC200J-10C213US for comparison:
Now to the points to watch for when acquiring equipment from eBay:
TC20and TC25 can get charged using USB-C cable/charger. If the scanner was used, the battery might need replacement especially if you’re planning on using it extensively, or to have a charger close by.
RFID Reader sled RFD2000 also comes with a battery LI3600 and it does not use the scanner battery as I thought initially (duh!) so it requires its own charger. Surely for a limited use you can use your favorite lab charger(ad) but only for the beginning, as it is not practical in the long run.
Charging Cradle for Zebra RFD2000 is a must once you’re done with your RnD and are ready to head to the warehouse. It charges both a Scanner and a Sled at the same time without separating the two.
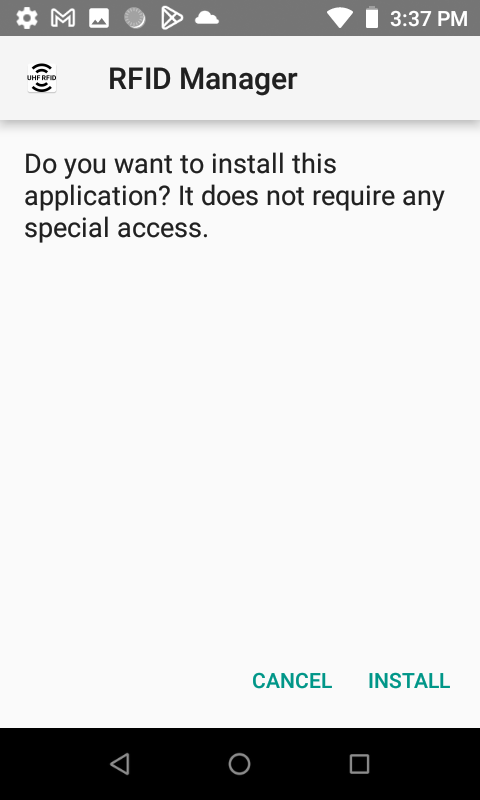
Now let’s get to the software. Zebra thought of low budget solutions and created RFID Manager Application for RFD2000 for Android 7.0.x and later:
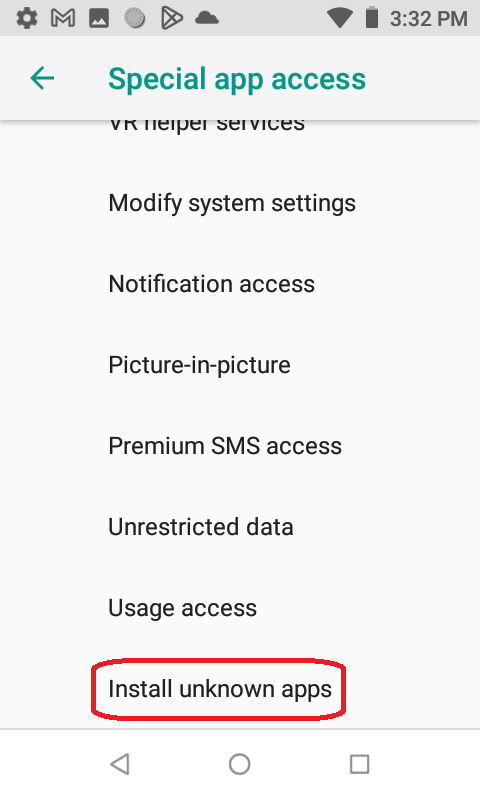
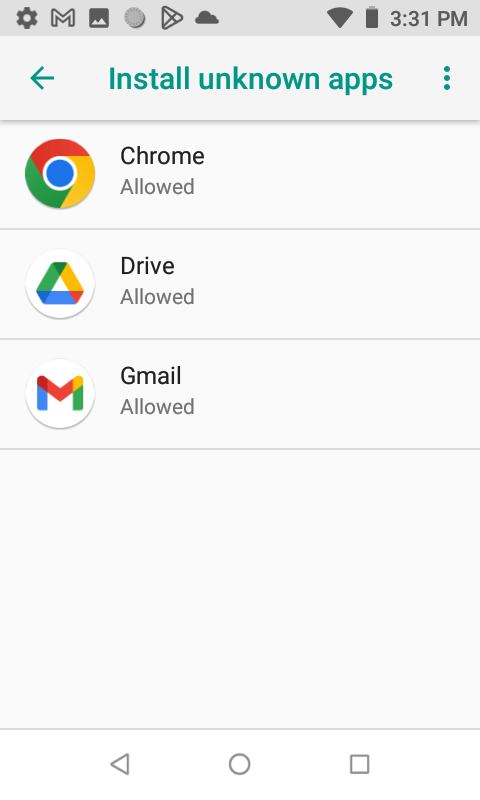
In order to set up such an .APK file that you’d get from Zebra web site, you need to allow your TC20 scanner / phone to install unknown apps or apps from unknown sources. Go to Settings and type in word “unknown” in search and mark all of them for the time being.
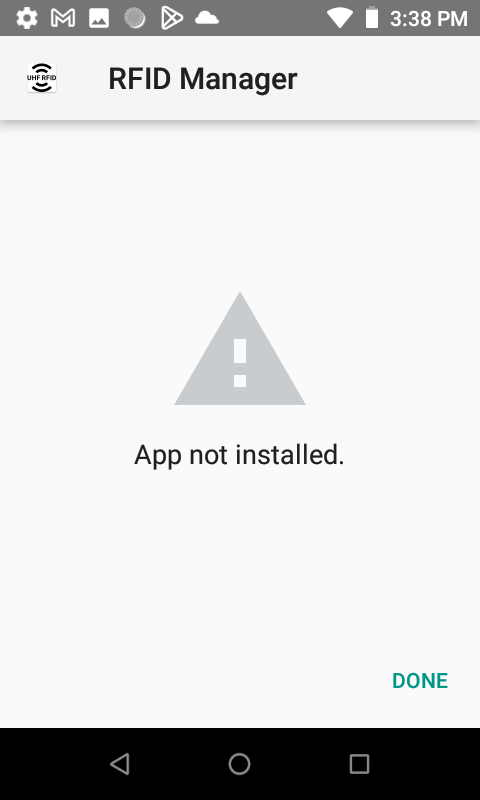
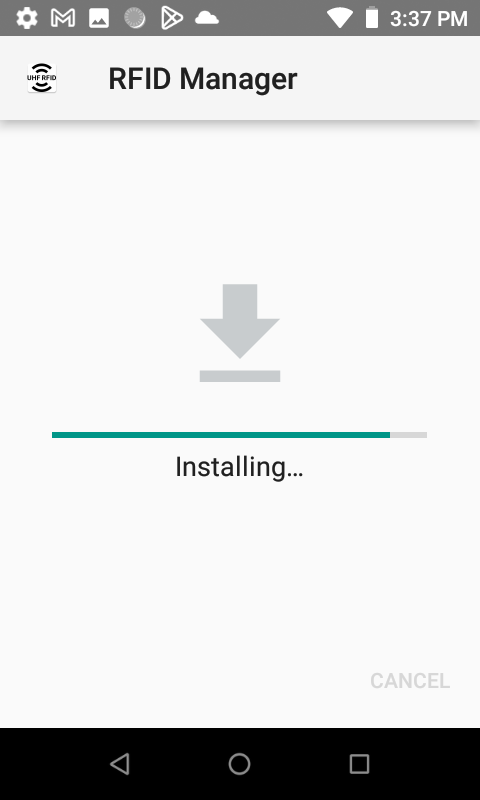
Now the main part: the app would not install on the scanners that are not intended for RFID use.
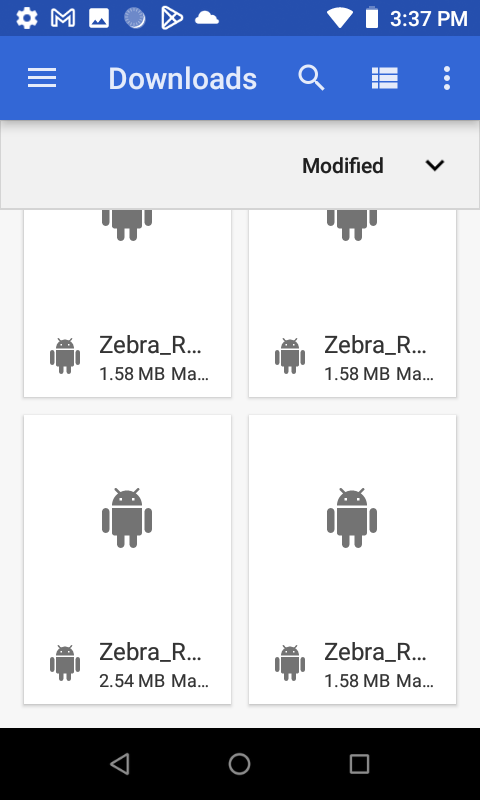
Files, list in TC20 RFID Manager APK
If you received App not installed, there are other procedures to find out if your scanner is compatible. But I can tell for sure that ZEBRA TC200J-10C112US is NOT intended for RFID scanning.
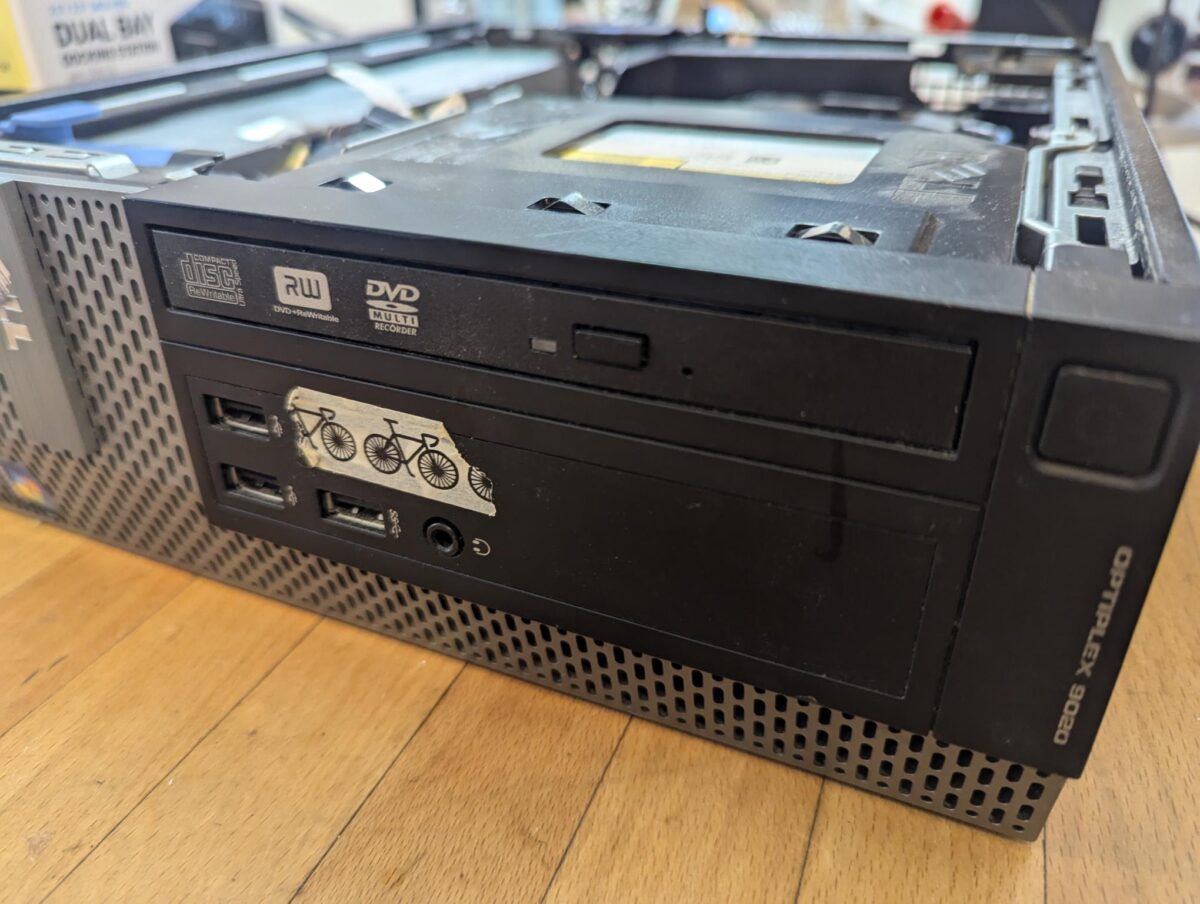
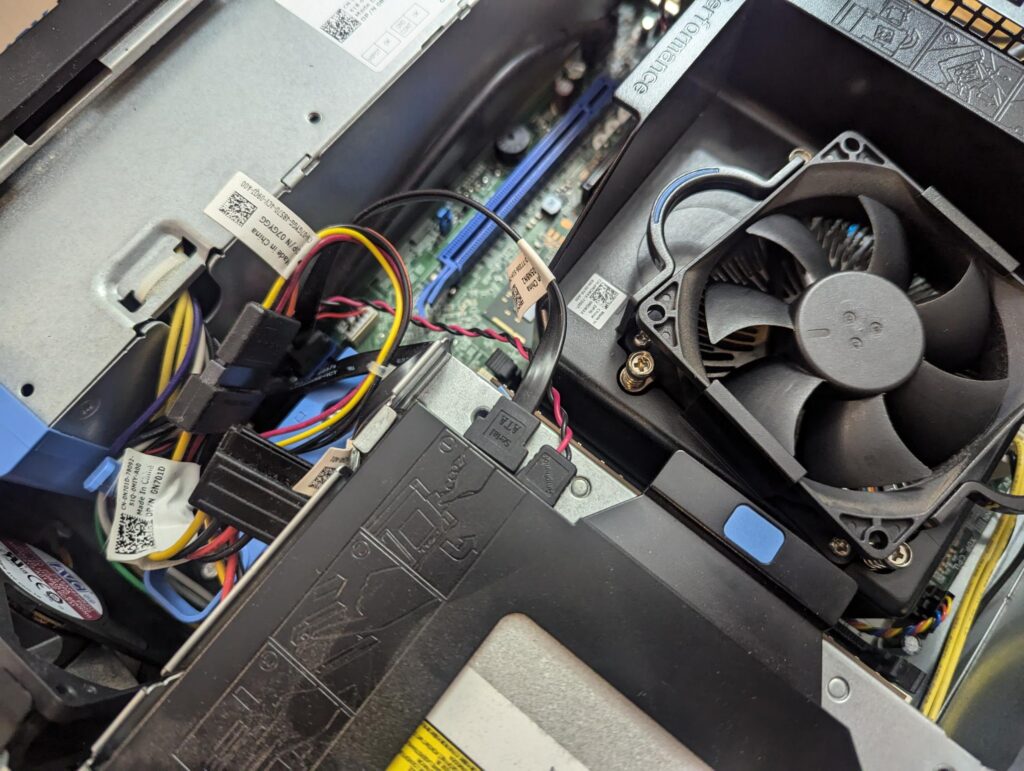
Dell Optiplex 9020 that does not boot up properly. When the power button is pressed here’s what happens and keeps going in a loop:
– Keeps doing a single beep
– Power button blinks amber and then blinks white
– Hard Drive symbol blinks white
– PSU LED blinks green
– CPU and Case Fans spin briefly and then stop
Resolution of the problem:
completely turn off the computer
disconnect the power cable
leave the power button pressed for 30 seconds + to discharge all the funny capacitors and the energy that remains in the components
open the case cover and carefully remove all the RAM/memory sticks
turn on the computer, it will beep once, then several times (3 continuous beeps), there should not be any video on the monitor, leave it running for 1 minute and later turn off the computer
open the device again and place a single memory stick (might want to consider cleaning the memory connectors with an alcohol wipe carefully, let it dry for a minute before re-inserting). Place the memory stick into position 1.
re-connect the power cable and turn on the computer, this time there will be video on the monitor, likely with a memory change message, press F1 button and it will continue to boot.
if everything worked, turn off and repeat the steps to re-insert the rest of the RAM/memory sticks.