
Physical Drive Connection and Hardware Requirements
- Power Down and Remove Drives: Ensure the ReadyNAS NV+ v2 is powered off. Gently remove all four 1 TB drives, labeling their bay order (1–4) to avoid confusion later.
- Connect Drives to a Linux Computer: Attach the drives to a PC running Linux. You can connect them via standard SATA ports or use USB-to-SATA docking adapters (make sure 3.5″ disks have adequate power)diskinternals.com. All drives should be connected simultaneously if possible (the RAID array needs at least all but one drive intact).
- No Special RAID Controller Needed: You do not need a dedicated RAID card or proprietary hardware. NETGEAR’s X-RAID2 is essentially a software-managed RAID (built on Linux mdadm RAID)forum.r-tt.com. A standard PC that can recognize the drives (through BIOS/OS) is sufficient. Ensure your SATA controller is in AHCI/standard mode (not set to RAID mode that might hide the drives). The “proprietary” aspect of X-RAID2 is mainly the expansion logic in the NAS’s firmware – the actual on-disk format is readable with normal Linux toolsforum.r-tt.com.
- Avoid Writing to Drives: Treat the NAS drives as read-only sources for recovery. Do not initialize or format them if prompted by any OS. (Windows, for example, will show them as unformatted – do not agree to any format prompts.) In Linux, do not let any auto-repair or RAID sync run. The goal is to mount and copy data, not to alter the NAS disks. If any drive shows signs of failure (clicking, I/O errors), consider imaging it first (e.g. using
ddrescue) to avoid stressing it further.
Assembling and Mounting the X-RAID2 Array on Linux
Once the drives are connected, use Linux command-line tools to reconstruct the RAID and access your data. Below is a step-by-step guide:
- Install Recovery Tools: On the Linux system, ensure you have mdadm (for RAID management) and LVM2 (Logical Volume Manager) installed. For example, on Debian/Ubuntu:
sudo apt install mdadm lvm2. These tools are required to assemble the X-RAID2 array and recognize the logical volume. - Identify the Disks and Partitions: Use
sudo fdisk -lorlsblkto list drives. Locate the NAS drives (e.g./dev/sda, /dev/sdb, ...) and identify their data partitions. Typically, ReadyNAS drives have multiple partitions; the largest partition on each disk is the data volume (often an MD RAID partition). For example, you might see each disk has a large partition like/dev/sda3of type “Linux raid”. Note these partition identifiers for all drives. - Assemble the RAID Array: Use mdadm to assemble the X-RAID2 (RAID-5) array. The simplest way is to let mdadm scan and assemble automatically:
sudo mdadm --assemble --scanThis command searches for RAID metadata on all disks and should assemble the RAID5 array device (e.g. it might create/dev/md0or/dev/md127). If the automatic scan fails, you can manually specify the devices, for example:sudo mdadm --assemble /dev/md0 /dev/sda3 /dev/sdb3 /dev/sdc3 /dev/sdd3(Replace/dev/sdX3with the actual partition identifiers of the four drives.) If one drive is truly bad, mdadm can assemble a degraded array with the remaining drives as long as no more than one drive is failed in a RAID5. A successful assembly is indicated by mdadm reporting the array is active. You can check/proc/mdstatto confirm the RAID is assembled. Note: X-RAID2 in this model defaults to single redundancy (RAID5) across four disksforum.r-tt.com, so mdadm will treat it as a standard RAID5. - Scan for LVM Volume: ReadyNAS X-RAID2 volumes use LVM on top of the RAID. After the RAID is up, run a volume scan:
sudo vgscanThis will detect any LVM Volume Group on the assembled RAID. The default ReadyNAS volume group might be named something like"c"(often ReadyNAS OS 5 uses a VG named “c” for the data volume)mattbryson55.medium.com. The output will sayFound volume group "<VG_Name>"(for example,Found volume group "c"). - Activate the Volume Group: Activate the detected LVM volume group so the logical volumes become accessible:
sudo vgchange -a y <VG_Name>Replace<VG_Name>with the name found in the previous step (e.g.c). This command makes the Logical Volume visible under/dev/<VG_Name>/<LV_Name>. For ReadyNAS, typically there is one main logical volume for data. Often the LV might have the same name as the VG (e.g./dev/c/c). After activation, uselvsorlvscanto see the logical volume path. - Mount the File System (Read-Only): Create a mount point and attempt to mount the logical volume:
sudo mkdir /mnt/readynas_data sudo mount -o ro /dev/<VG_Name>/<LV_Name> /mnt/readynas_data(Use the correct VG and LV name, e.g./dev/c/c.) Mounting read-only (-o ro) is recommended for safety, so no changes are made to the NAS data. For most ReadyNAS NV+ v2 units, the file system is EXT4, which Linux can normally mount directly. If the mount is successful, you can skip to step 8. - Handle Mounting Errors (Block Size Issues): If the mount command fails with an error like “wrong fs type, bad superblock…,” it may be due to ReadyNAS using a non-standard block size (ReadyNAS OS often formatted EXT with a 16 KB block size, which standard Linux kernels may not mount by default)mattbryson55.medium.com. In this case, use a FUSE-based driver that can handle large-block EXT file systems:
- Install the fuseext2 (or
fuse-ext2) package, which allows mounting EXT2/3/4 via user-space. For example:sudo apt install fuseext2. - Ensure the FUSE module is loaded:
sudo modprobe fusesuperuser.com. - Mount using fuseext2 (with read-only option):
sudo fuseext2 -o ro,allow_other /dev/<VG_Name>/<LV_Name> /mnt/readynas_dataTheallow_otheroption permits non-root users to read, but you may omit it if not needed. When using fuse-ext2, you should see a message indicating it recognized the device and block size (e.g. “/dev/c/c block size is 16384”)superuser.com. This confirms it handled the 16KB blocks that were causing issues. (In some guides, an older toolext2fuseis mentioned –fuseext2is the updated utility serving the same purposesuperuser.com.) - Alternative: If fuseext2 is not available, another approach is to compile the kernel with 16KB block size support or use a different machine/VM with matching architecture. However, using FUSE is simpler for most users.
- Install the fuseext2 (or
- Verify and Access Data: Once mounted (check that
/mnt/readynas_datashows files), verify the integrity of your data. List directories (ls /mnt/readynas_data) to ensure you see expected folders (ReadyNAS might have directories likehome,media,backup, etc., depending on how your shares were organized). At this point, all your files should be accessible for copying. It’s best to copy the data off to another drive at this stage rather than attempt to “fix” or continue using this array. Use file browsers or commands (likecporrsync) to transfer your files to a safe location. Remember that since we mounted read-only (or via FUSE), we are not altering the NAS drives during this process.
Throughout this procedure, work slowly and deliberately. If any step fails (for example, mdadm cannot assemble the array, or LVM volumes aren’t found), double-check that all drives are correctly connected and recognized. Do not proceed with any RAID –create or –build commands, as those could overwrite metadata; only use –assemble to reconstruct using existing metadata.
Recommended Tools for Safe Data Access
Using the native Linux tools as above is the safest approach, but here is a summary of useful software for X-RAID2 data recovery:
- mdadm: The Linux software RAID management tool, used to detect and assemble the RAID arraydiskinternals.com. It understands the metadata on X-RAID2 disks and can rebuild the array in degraded mode if needed.
- LVM2: The Logical Volume Manager tools (
vgscan,vgchange, etc.) to recognize the volume group and logical volume on the RAIDmattbryson55.medium.com. X-RAID2 on ReadyNAS uses LVM to allow seamless expansion, so these tools are essential for accessing the actual data volume. - Fuseext2 (Fuse-Ext2): A FUSE module for mounting EXT2/EXT3/EXT4 file systems in user space. This is particularly useful for handling the atypical 16KB block size used by ReadyNAS. If the standard
mountfails with superblock errors, fuseext2 can mount the volume read-only to safely access filesmattbryson55.medium.comsuperuser.com. (Install via your distro’s package manager, and usefuseext2orfuse-ext2as shown above.) - GNU ddrescue: A disk cloning and rescue tool. If any of the NAS drives are suspect or failing, use ddrescue to create an image clone of the drive before attempting data recovery. This prevents stress on the original. (This is an optional precaution if you suspect drive hardware issues.)
- TestDisk (Partition Recovery): In cases where the partition table on the NAS drives is corrupted, TestDisk can sometimes recover lost partitions. For example, if
fdisk -lshows no partitions on a drive that should have them, running TestDisk on that drive may rediscover the RAID partition. Only use this if necessary – in most cases, the partitions should be intact and you won’t need TestDisk. - RAID Recovery Software (Optional): If you prefer a GUI or are uncomfortable with Linux commands, there are tools like R-Studio, ReclaiMe, or DiskInternals RAID Recovery that can recognize NETGEAR X-RAID arrays. These are commercial options and typically allow you to assemble the array and copy off data. For example, R-Studio/R-Linux can detect mdadm RAID and LVM combinationsforum.r-tt.com. Similarly, DiskInternals has a free Linux Reader that can read EXT4/LVM volumes in Windows (read-only) – however, due to the LVM+EXT4 combination, a Linux environment is generally more straightforwardmattbryson55.medium.com. Use these only if the manual Linux method is not an option, as direct Linux mounting tends to be more reliable.
All the above tools work without any proprietary Netgear hardware – the data is stored in standard Linux formats (mdadm RAID, LVM, EXT4), so open-source tools can access it. Always use read-only or cloning approaches when in doubt, to avoid making changes to the original drives.
Compatibility Considerations (X-RAID2 on Non-NETGEAR Systems)
When connecting ReadyNAS drives to a generic Linux PC, a few quirks and compatibility issues may arise:
- Non-Standard EXT4 Block Size: NETGEAR often formatted the data volume with a 16 KB block size (larger than the typical 4 KB). Many Linux systems will refuse to mount an EXT4 filesystem with 16k blocks on x86/x64 hardware, yielding errors about a “bad superblock”mattbryson55.medium.com. This is a known hurdle. The solution, as described, is to use FUSE-based drivers (fuseext2) which can handle the larger block sizessuperuser.com. Once mounted with fuseext2, the block size mismatch is bypassed and data can be read normally.
- Endianness (Older Models): The NV+ v2 uses a modern ARM processor with standard little-endian storage, so you do not have to worry about byte-order issues. (For context, older ReadyNAS models like the NV+ v1 on Sparc CPUs formatted drives in big-endian EXT3, which required special handling or a Sparc emulator to read on a PC. The NV+ v2 is not in that category.) In short, a current Linux PC can natively interpret the NV+ v2’s filesystem once the RAID/LVM is assembled.
- Filesystem Type: The ReadyNAS NV+ v2 (RAIDiator 5 firmware) typically uses EXT4 for its data volume. This is widely supported in Linux. (Newer ReadyNAS OS6 devices use BTRFS, but that does not apply here unless the NV+ v2 had been experimentally upgraded.) Ensure your Linux kernel supports EXT4 (almost all do) and LVM2. In case the volume was XFS or BTRFS (unlikely for NV+ v2), you’d need those filesystem drivers and possibly additional steps, but EXT4 is the default for this modelsuperuser.com.
- Operating System Differences: Windows and macOS cannot natively read the ReadyNAS drives due to the EXT4 filesystem and LVM structure. While there are third-party drivers (e.g. ext4 drivers, or LVM utilities for Windows), the combination of RAID+LVM+EXT4 with large blocks is complex to handle outside Linuxmattbryson55.medium.com. It’s strongly recommended to use a Linux environment (or at least a Linux live USB) for recovery. This avoids issues with incompatible drivers and ensures you can use mdadm/LVM as needed.
- Auto-mounting and Safety: Most Linux distributions will not auto-mount unfamiliar RAID/LVM volumes, so you typically won’t risk the OS doing something to the NAS drives automatically. However, some disk utilities might prompt to “initialize” a disk if they don’t recognize it – always decline such prompts. It’s a good idea to disable auto-mount in your file manager while working with these drives. Likewise, do not let the system run
fsck(file system check) on the NAS volume on boot; if the Linux thinks it sees a new volume, it might schedule a check. Since we want to preserve the data as-is, any repair attempts should be done manually if at all.
By being aware of these considerations (especially the 16KB block size issue), you can avoid pitfalls when reading X-RAID2 arrays outside the ReadyNAS. In summary, standard PC hardware and software will work with X-RAID2, but you must use the right software tools and drivers as described.
Tips to Revive the ReadyNAS NV+ v2 for Short-Term Access
If you prefer to try getting the ReadyNAS itself operational (even temporarily) to extract data over the network, here are some tips:
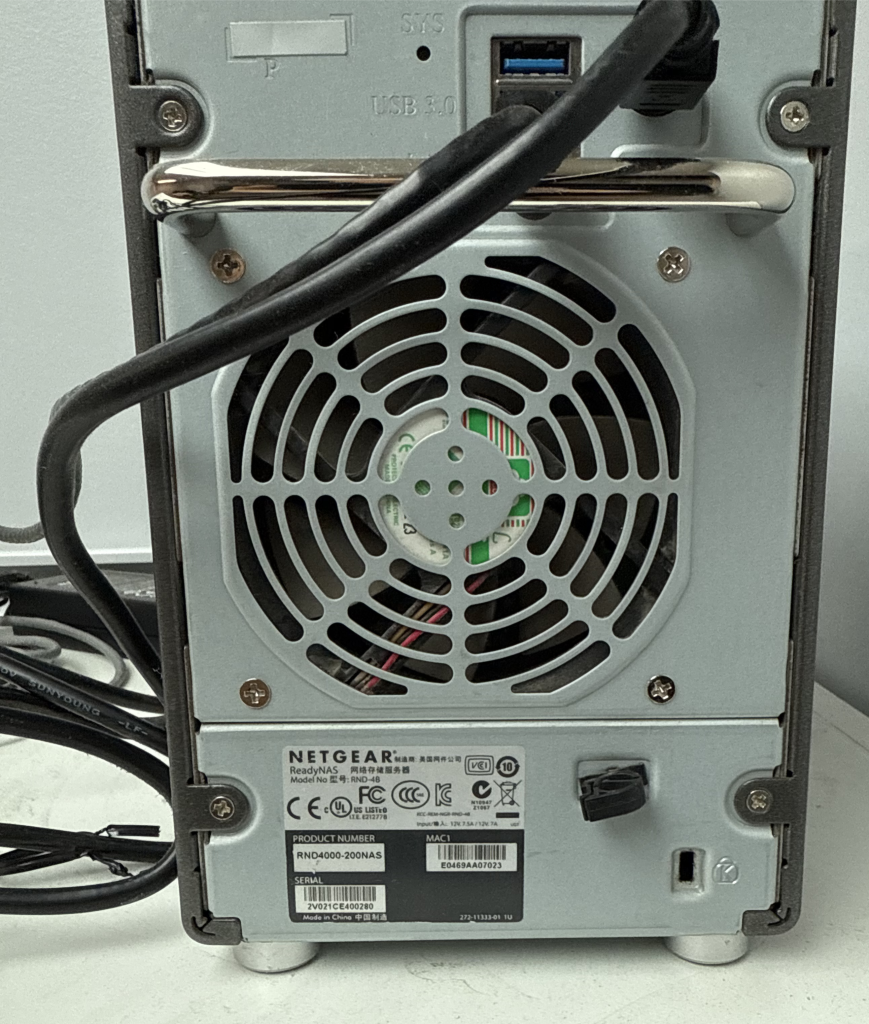
- OS Reinstall via Boot Menu: The NV+ v2 has a boot menu that can reinstall the NAS’s operating system on the disks without wiping your data. This is useful if the NAS OS got corrupted. To do this, power down the NAS, then boot into the boot menu: insert a paperclip into the reset pinhole on the back, hold it while pressing the Power button. Continue holding reset until you see a boot menu prompt on the LCD (or the backup light flashes)kb.netgear.com. Use the Backup button to scroll to the option “OS Reinstall”, and then press Reset to confirmkb.netgear.com. This will reload the ReadyNAS firmware from its internal flash to the drives’ OS partitionkb.netgear.com. Importantly, OS Reinstall does not erase your data – it just fixes the operating system and resets configuration (like admin password, IP settings to DHCP, etc., while preserving the data volume). After an OS reinstall, give the NAS a few minutes to boot. Then try accessing it via RAIDar or the web interface (it may get a new IP via DHCP). In many cases, this process brings a “bricked” unit back to life if the issue was OS corruption.
- Skip Volume Check: If the NAS was hanging on boot (LCD stuck with black bars or “Checking disk” message) due to a filesystem check, the boot menu offers a Skip Volume Check option. This can force the NAS to boot without scanning/repairing the volumekb.netgear.com. Use it if you suspect the file system check was freezing the boot process. Once booted, the volume may mount in a degraded state, but it might be accessible long enough to retrieve data. Warning: Skipping the file system check can be risky – if the file system is actually corrupted, running it without a repair might lead to instability. Use this only for a last-ditch read attempt, and immediately copy critical data off if the NAS does boot.
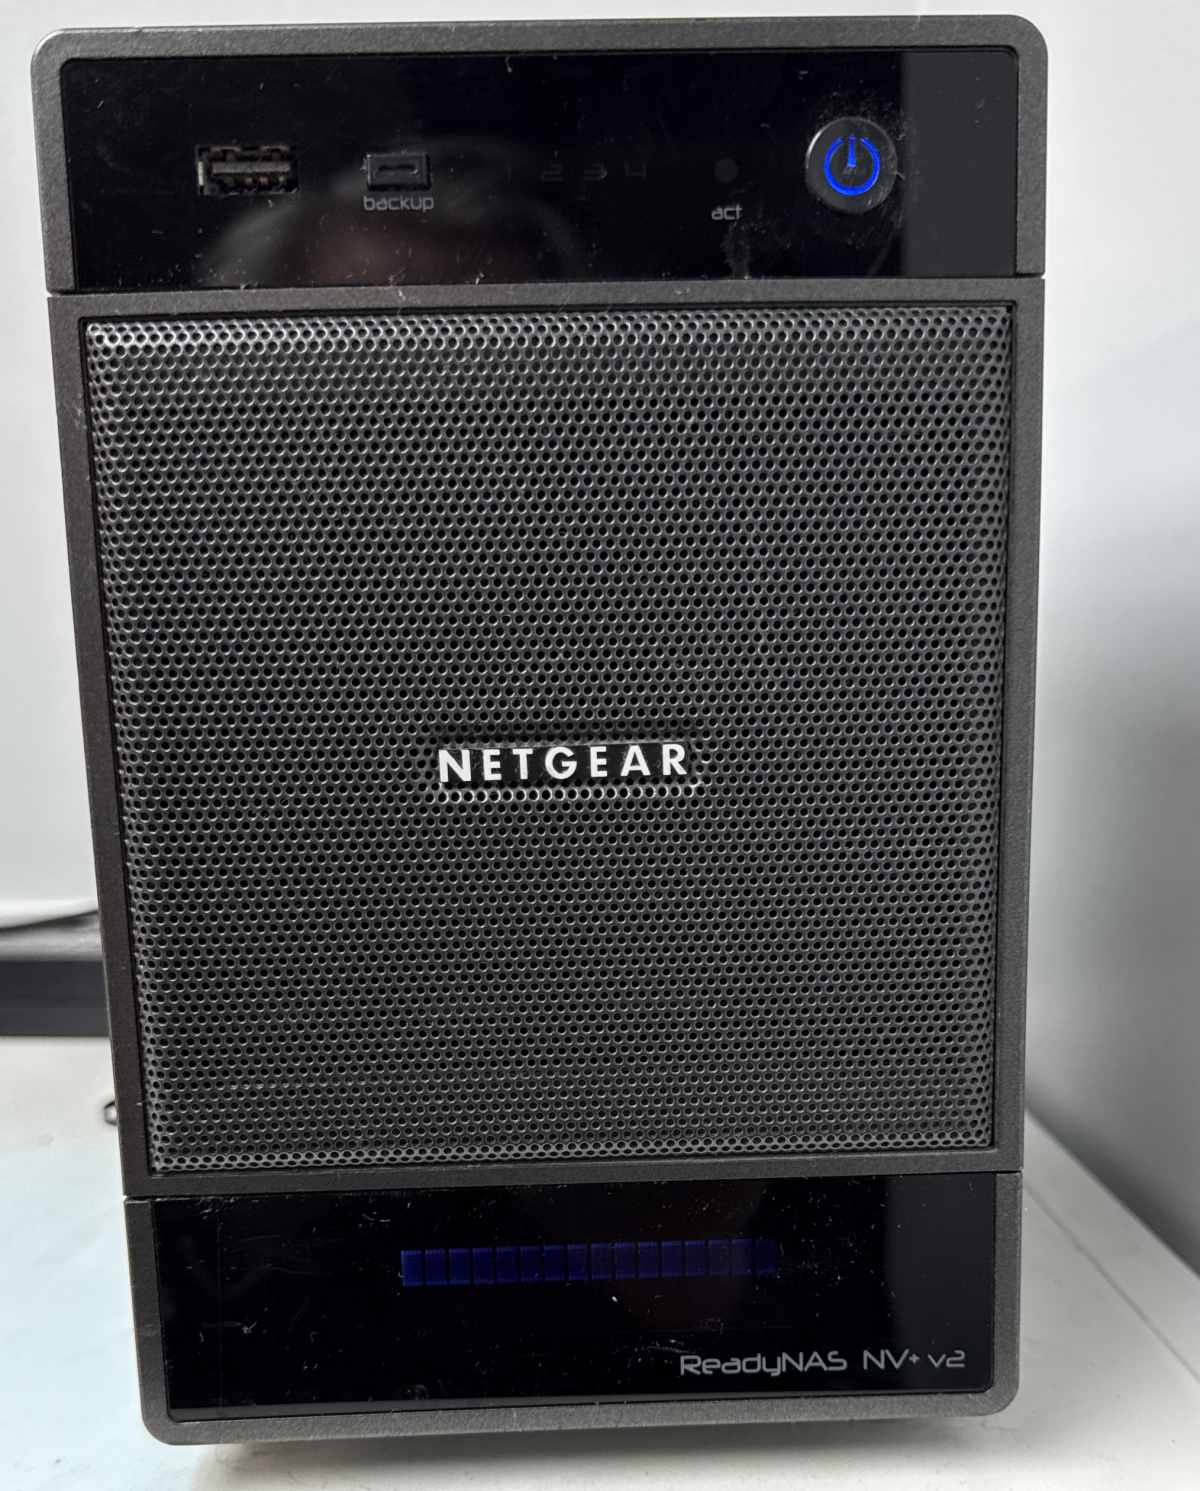
- Check LCD and Hardware Indicators: The described symptom (LCD showing solid rectangles and no network access) often points to a firmware hang or hardware fault. Sometimes this can be caused by bad RAM. The NV+ v2 has a boot menu option for Memory Test as wellkb.netgear.com. You might run the memory test (it uses LEDs to indicate pass/fail) if OS reinstall doesn’t help. If the memory is bad, that could explain the boot failure. Re-seating or replacing the RAM (if the unit has a replaceable DIMM) could be a solution. Also, verify the power supply is delivering stable voltage – a failing PSU can cause weird boot issues (though fans and lights may still come on).
- Minimal Boot (Disk-by-Disk): Another trick is to try booting the NAS with fewer drives. Since the OS is mirrored across drives, the ReadyNAS can actually boot from just one drive in some cases. You could try inserting only Drive 1 and see if it boots (if not, try Drive 2 alone, etc.). If one of the OS partitions is corrupted but another is fine, this might let the system start. Do not attempt any normal operations in this state (since the RAID will be degraded); this is only to see if the unit can boot far enough to access the data volume. If it does, immediately connect and copy data off (preferably connect an external USB drive to copy data, or use the network). Afterward, you can reintegrate the drives.
- Use RAIDar Utility: Install NETGEAR’s RAIDar software on your PC – it can sometimes detect a ReadyNAS on the network even when the web UI isn’t accessible. RAIDar will show the device status (e.g. “Corrupt root” or “Booting” or any errors). This might give a clue as to what state the NAS is in during boot and guide your next action. For example, “Corrupt root” would indicate the OS on the drives is messed up (fixable by OS reinstall), whereas “Dead” or no detection might imply a hardware failure.
- USB Recovery (Firmware Reflash): In cases where even the boot menu doesn’t work properly, NETGEAR had a procedure to reflash the unit via a USB recovery image. This is more involved – you’d need a specific firmware image on a USB stick and a special boot process. It’s typically a last resort if the bootloader or flash is corrupted. Information on USB recovery for the NV+ v2 can be found in NETGEAR’s knowledge base or forums, but note that it requires the exact firmware file for your model and is not guaranteed to work in every case.
- Short-Term Only: If you do succeed in reviving the ReadyNAS, use that window to immediately backup your data. Do not trust the NAS to stay stable – whatever caused the failure could recur. For instance, copy everything to an external drive or a new NAS. Consider this a temporary lifeline to get your files out. After that, you can troubleshoot deeper or retire the unit. It’s also wise to keep the drives set aside (don’t reinitialize them) until you have verified all critical data is safely copied elsewhere.
By following these tips, you have two paths: either recover the data by mounting the drives in a Linux PC, or attempt to get the NAS running just long enough to pull the data off. In either approach, the key is to be cautious and focus on data retrieval rather than restoring the NAS to full working order. Once your data is secured, you can decide to reset or replace the NAS as needed. Good luck with your data recovery!
Sources: The above guidance is based on NETGEAR ReadyNAS documentation and community knowledge. NETGEAR’s X-RAID2 is internally a Linux mdadm RAID systemforum.r-tt.com, so standard Linux procedures apply. Official support articles confirm the boot menu options (OS reinstall, etc.)kb.netgear.comkb.netgear.com, and experts have documented the process of assembling and mounting ReadyNAS volumes on a Linux PCdiskinternals.commattbryson55.medium.com. The 16 KB block size issue is a known quirk of ReadyNAS filesystemsmattbryson55.medium.comsuperuser.com, requiring fuse-ext2 for access. By leveraging these standard tools and methods, users have successfully recovered data from failed ReadyNAS units without specialized hardwareforum.r-tt.comdiskinternals.com. Always handle such recoveries with care to avoid data loss.